How to Change the Default Location of My Documents in XP
How to Move the Location of My Documents?
Running out of hard disk space and need to move your “My Documents” folder? Guess what – simply creating a new folder called “My Documents” does not work. Have you ever wanted to change that location of My Documents? If you ever have you probably went out and bought a new drive then copied and pasted or made a back up and then restored it to where you want the data only to find that it doesn’t work the way you thought it would.
But when created the new location it still takes you to the old “My Documents” folder when you click on the “My Documents” in the start menu or even on the Desktop. That’s because you need to change the Default location of My Documents. All you did by creating a new folder was simply create a new folder.
(Click the bottom right >> (arrows) for full story!)Instead of creating a new folder there is a much easier way to do it, that will save your files in the normal default location just like it did before. Well, I’ll tell you how you can transfer and change the default location of a folder and still be able to use the the Windows shortcuts to get to “My Documents“. You can use this trick for not only the “My Documents” but others under the User Directory too.
How to Move the Location of My Documents?
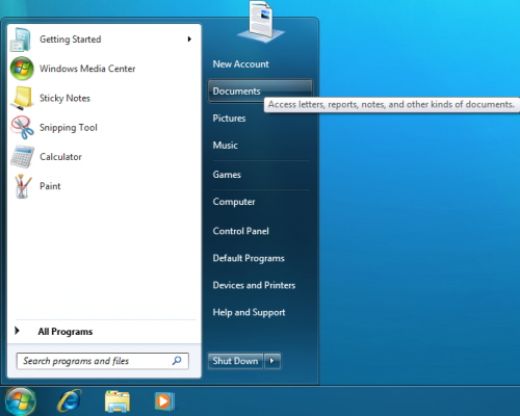
Navigate to C:Users<User-Name>Documents
- right click on My Documents –
- Click Properties –
- click on the Location tab –
- click on the Move button,

Here is where you’ll be asked to for the new destination for your folder to be moved.
It could be a the new external hard drive you just bought or a secondary drive on the computerWindows 8 Essential Shortcuts. Read more ... », whatever the case you have the option of putting it anywhere you’d like. Click on apply then OK. Now all the files in the current “My Documents” folder will be moved to your new default location and you’ll see the files flying across your dialog box! (It could take awhile if you have a lot of files there!). Once it’s done – you’ve a new default location of “My Documents”!
There you have it! All done! Wasn’t that easy?
Here’s step by step directions as well how to UNDO it just in case you need to:
Change the Default Location of the My Documents Folder
To change the default location of the My Documents folder, follow these steps:
- Click Start, and then point to My Documents.
- Right-click My Documents, and then click Properties.
- Click the Target tab.
- In the Targetbox, do one of the following:
- Type the path to the folder location that you want, and then click OK. For example, D:My Stuff.If the folder does not exist, the Create Message dialog box is displayed. Click Yes to create the folder, and then click OK.-or-
- Click Move, click the folder in which to store your documents, and then click OKtwice.If you need to create a new folder, click Make New Folder. Type a name for the folder, and then click OK twice.
- In the Move Documents box, click Yes to move your documents to the new location, or click No to leave your documents in the original location.
Restore the My Documents Folder to Its Default Location
To restore the My Documents folder to its default location, follow these steps:- Click Start, and then point to My Documents.
- Right-click My Documents, and then click Properties.
- Click Restore Default, and then click OK.
- In the Move Documents box, click Yes to move your documents to the new location, or click No to leave your documents in the original location.
Posts related to How to Change the Default Location of My Documents in XP
Moving the My Documents folder Running out of hard disk space and need to move your "My Documents" folder? Guess what - simply creating a ...

« I can't find what I'm looking for! » Internet Search Have you ever gotten frustrated when you search the world wide web, aka the ...

Get Your Windows 8 Essential Shortcuts Here are 15 Essential Shortcuts for Windows 8 to help you navigate Microsoft's revolutionary operating system. Without the familiar ...
Tags: Computer Tips, Help, Tips